Efficient document preparation using macros in LaTeX.
Author
Guilherme D. Garcia
Published
May 5, 2023
One of the many advantages of using \(\LaTeX\) is the potential for automation. Here are some of the scenarios where I use macros to speed up my document preparation (slides, papers, etc.):
Phonetic and phonemic transcription
First, I define that every transcription will use the cmr font family. Then, I create two macros: ur{} (underlying representation) and sr{} (surface representation). These will employ tipa and surround the transcription with slashes and square brackets, respectively. I also use simple macros to make commands more intuitive. For example, to create a velarized L, you’d need \textltilde, but it’s much easier to remember (and faster to type) if the command is called \darkl; to create a rhoticized schwa, you’d need \textipa{\textrhookschwa}, so I use a much shorter command: \rschwa.
Code
\usepackage{tipa}\newcommand{\serifIPA}[1]{{\fontfamily{cmr}\selectfont{#1}}}\newcommand{\ur}[1]{\serifIPA{\textipa{/#1/}}}\newcommand{\sr}[1]{\serifIPA{\textipa{[#1]}}}% Simple macros for specific symbols\newcommand{\darkl}{\textipa{\textltilde}}\newcommand{\rschwa}{\textipa{{\textrhookschwa}}}
Color consistency
First, I define some colors that match exactly what I need for consistency across the board using the \definecolor command. Then, I create some commands that apply that color and make the text bold at the same time. This makes it quick to add consistent colors to slides, for example.
One thing I also do is use color to represent comments by a specific author in a paper. Say three people are working on a tex document and each wants to add specific bits to the text, but it’s important to know which additions came from whom. You could use version control (or online tools such as Overleaf), of course, but if you don’t, a simple way is to create a macro for each author. For example, every time I enter some text, I use garcia{} and the text will be in red. Whenever you want to hide all colors from all authors, you can simple change the colors back to black in your newcommand definition located at the preamble of your document. This is useful because it allows you to turn on and off comments by a specific author.
Code
\newcommand{\garcia}[1]{{\color{red}{{#1}}}}
Custom boxes
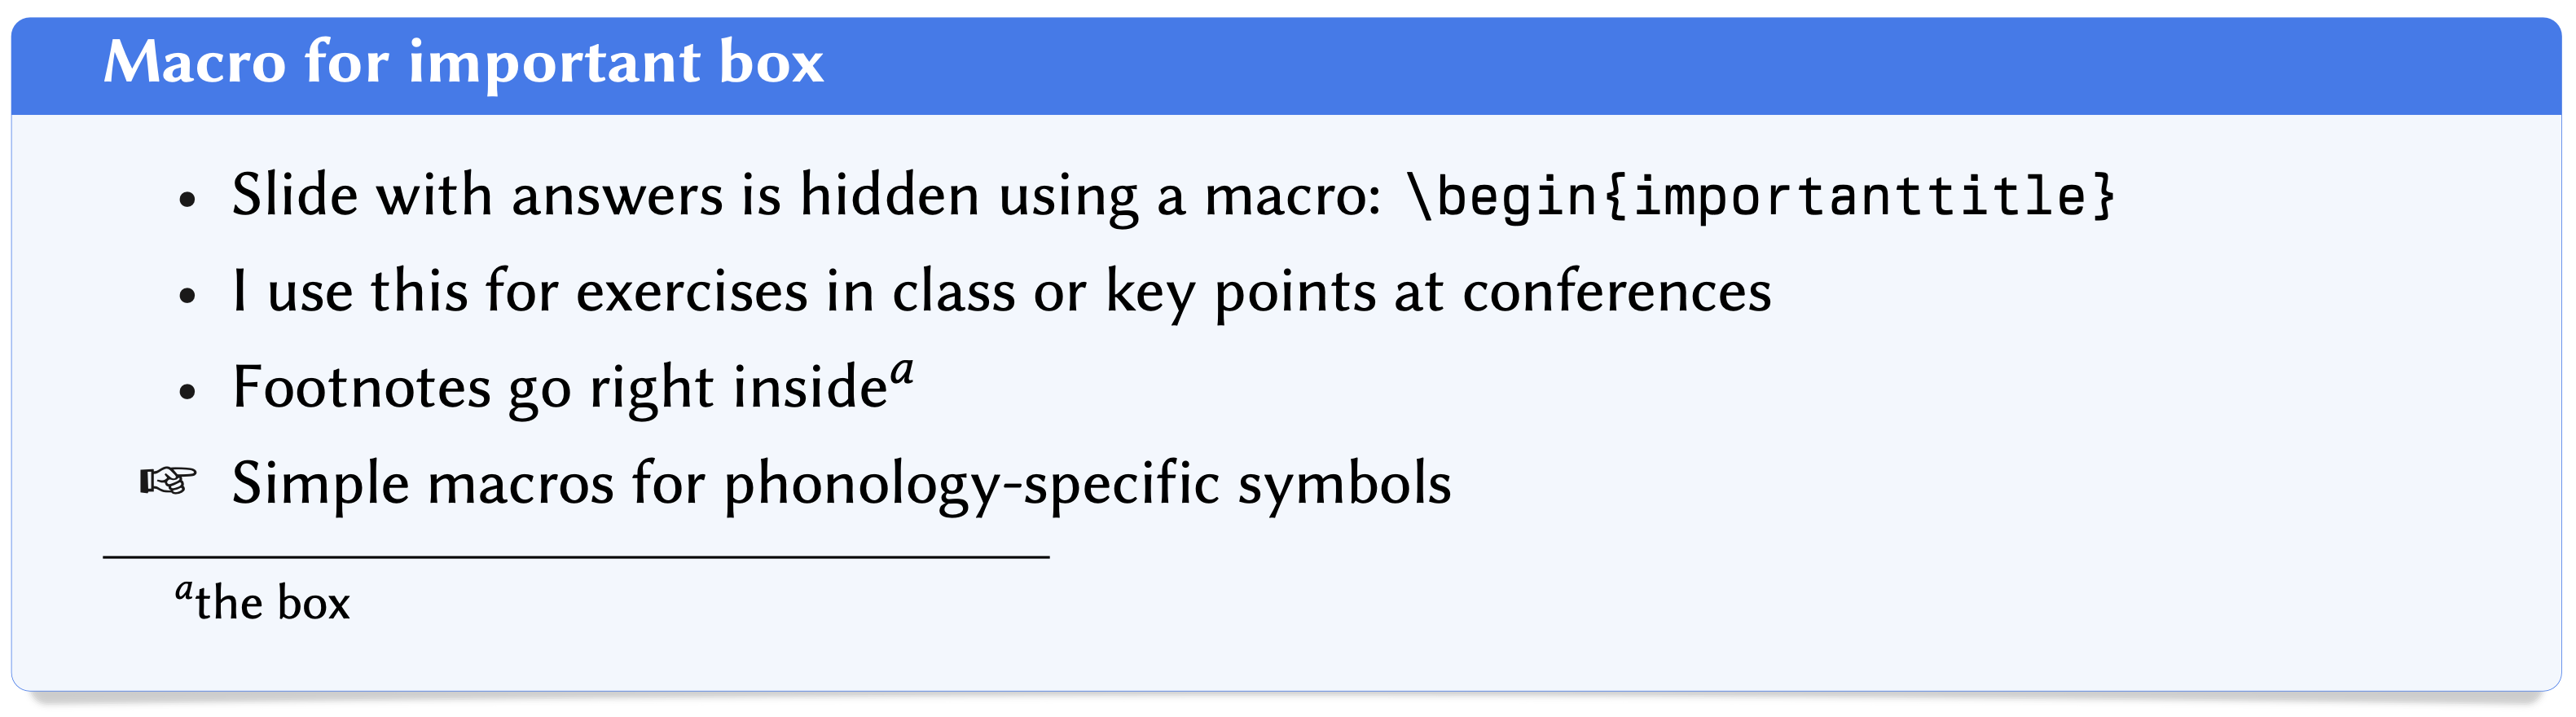
I often want to have a box on a slide or handout where I can add important stuff. But it’s a pain to create that every time in \(\LaTeX\). The easy solution is to create your own environment to customize a tcolorbox. These types of boxes are extremely useful to attract people’s attention to a specific place on the slide/page. For my teaching slides, these boxes always contain an exercise, so there’s a consistent association between the two.
I often have questions and answers on slides, which can be an issue if I plan to post a preliminary copy of the slides before class. I could manually hide each frame that contains the answers, but that takes time (and is annoying). Instead, I create a class of frame that holds answers and turn all relevant frames on and off by changing a single line. For that, I use the comment package.
Code
\usepackage{comment}\ifshow\newenvironment{correction}[2]{% \begin{frame}% \frametitle{#1}% \framesubtitle{#2} }{% \end{frame}%}\else\excludecomment{correction}\fi\newif\ifshow\showtrue % comment out to hide solutions\begin{document}\begin{correction}{Title} Answers go on this frame.\end{ccorrection}\end{document}
Some additional tools
Some other packages I use include the exam package, which is self-explanatory, and the vowel package for vowel trapezoids. One idea is to create an exclusive tex file (or multiple such files) for all the macros you create and then load it in the preamble of every tex document you work with. You can do that by using the \input{} command. Finally, I frequently use tikz for all sorts of non-linear structures, from prosodic trees to just about anything that can’t be “easily” done otherwise. It’s true that tikz isn’t very intuitive, and it definitely has a learning curve, but it can be quite powerful. You can check more info on how I create slides using beamerhere.